KILL KNIGHT
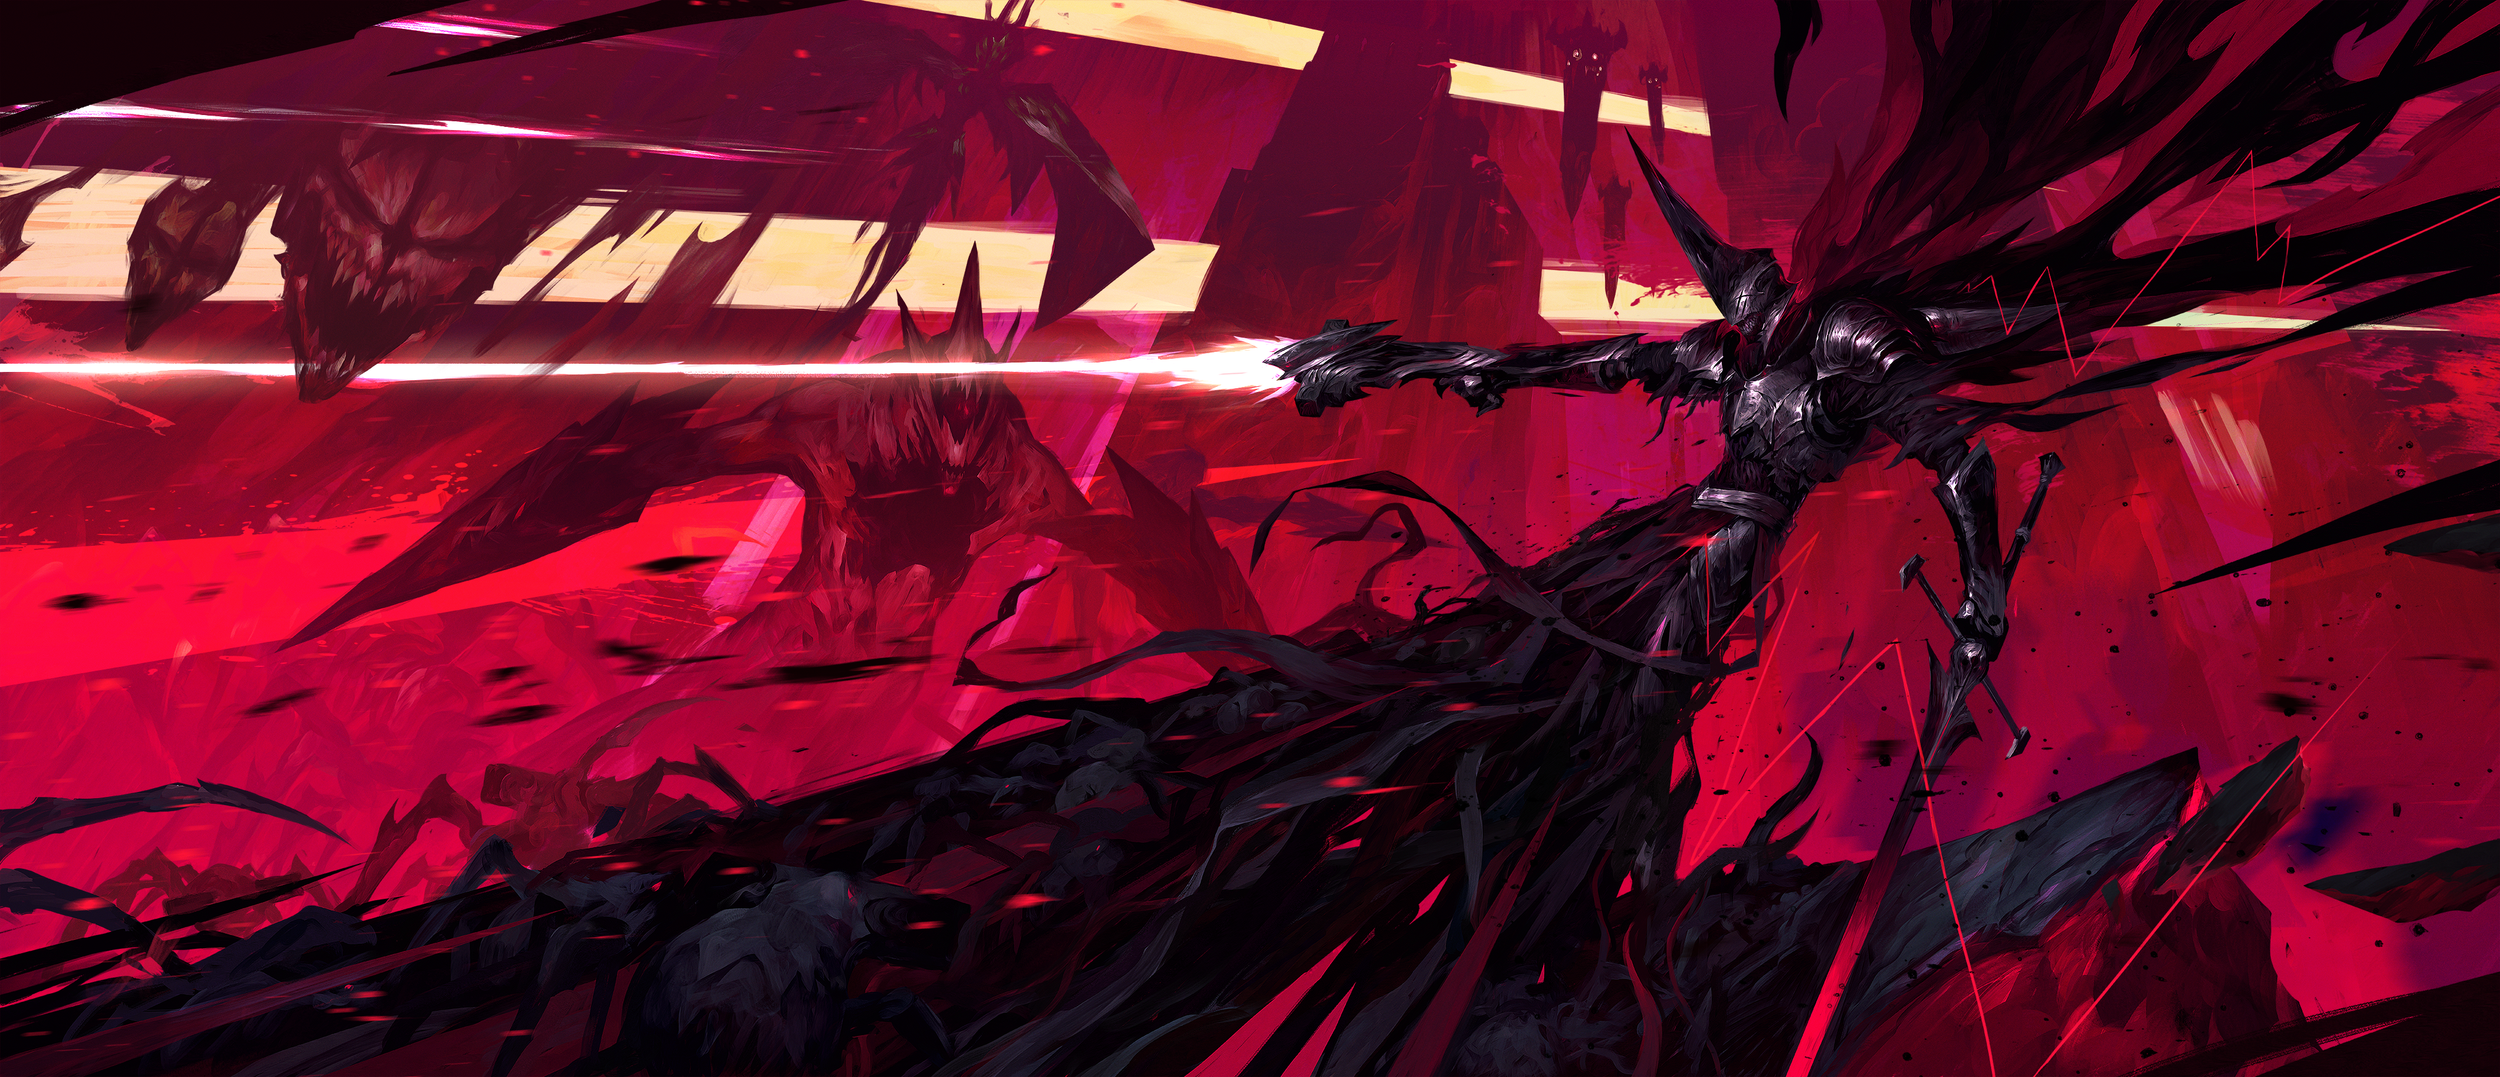
KILL KNIGHT is an ultra-responsive arcade-inspired isometric action shooter. Condemned to eternal sufferance, deep within the voids of an eldritch arena, you must wield an arsenal of devastating weaponry to obliterate swarms of otherworldly horrors - and MASTER THE DEMON WITHIN.
ROLE OVERVIEW


Upon completion of Age of Darkness, others and myself were placed into a small strike team of passionate and driven developers and given the task of creating a unique and innovative indie title within a year. After a few months of pre-production, we landed on an exciting gameplay loop that rallied the team together and set the foundation for what the game would be. That game was Kill Knight.
This was an isometric, old-school inspired twin stick shooter that had players chasing leaderboard high scores by killing hordes of demons in an abyssal keep with constantly shifting arenas. It demanded precision and mastery from players but also experimentation with the vast array of equipment provided.
I was a part of this project from start to finish and because there were only two designers on it from the beginning, I ended up conceiving, owning and implementing a lot of the main features and content. This included the core combat loop, equipment design, enemy & boss design, level design and economy design. Later on, we had an additional designer come on board who I oversaw to help with enemy spawns and a few level designs. We were also the first project in the studio to release on multiple platforms (PC, Playstation 4/5, Xbox Series X/One X & Switch).
On release, Kill Knight did exceptionally well garnering favorable reviews scores and being nominated for four different awards at the Australian Game Developer Awards (AGDAs) one of which being game of the year in Australia. It currently sits at a very positive review rating on steam and has become a favorite of the twin-stick shooter community.
Key Achievements
Combat Design
Conceived & developed the game’s original combat system alongside fellow designers
Crafted over 30+ mechanically different equipment pieces for the player
Designed out the majority of the enemy roster, including the game’s singular main boss
Level Design
Responsible for all aspects of level design being the game’s five “Abyssal Layers”
Ideated on all traps and hazards present within each level
Oversaw all enemy spawns & formations
Economy Design
Constructed game’s core economy (Tokkens) and managed their values
Calculated and balanced the game’s score and letter rank system that determines player performance upon completing a level
Miscellaneous
Onboarded & mentored associate designer throughout the project
Project team’s go-to person for all gameplay related features
Wrote & managed documentation related to core game features and content
Developed workflow pipelines with other departments
Organized internal playtests
Constant gameplay testing and bug tracking
And much more!
PLAYER COMBAT
From the beginning of pre-production, our goal was to create an addictive and thrilling combat loop without any fluff. It needed to be very tight and rely purely on mechanical mastery. This was because our game would not have any random elements (like in roguelikes or roguelites) but instead would be highly deterministic to encourage player skill and bring back that old arcade game essence of easy to learn, hard to master. Therefore we looked at game titles that did this (Doom Eternal, Ultrakill, Deadlink) and set out to build our own.
What we ended coming up with was the Wrath System. To understand how this system works, you first have to understand the player’s toolkit.
Player Toolkit
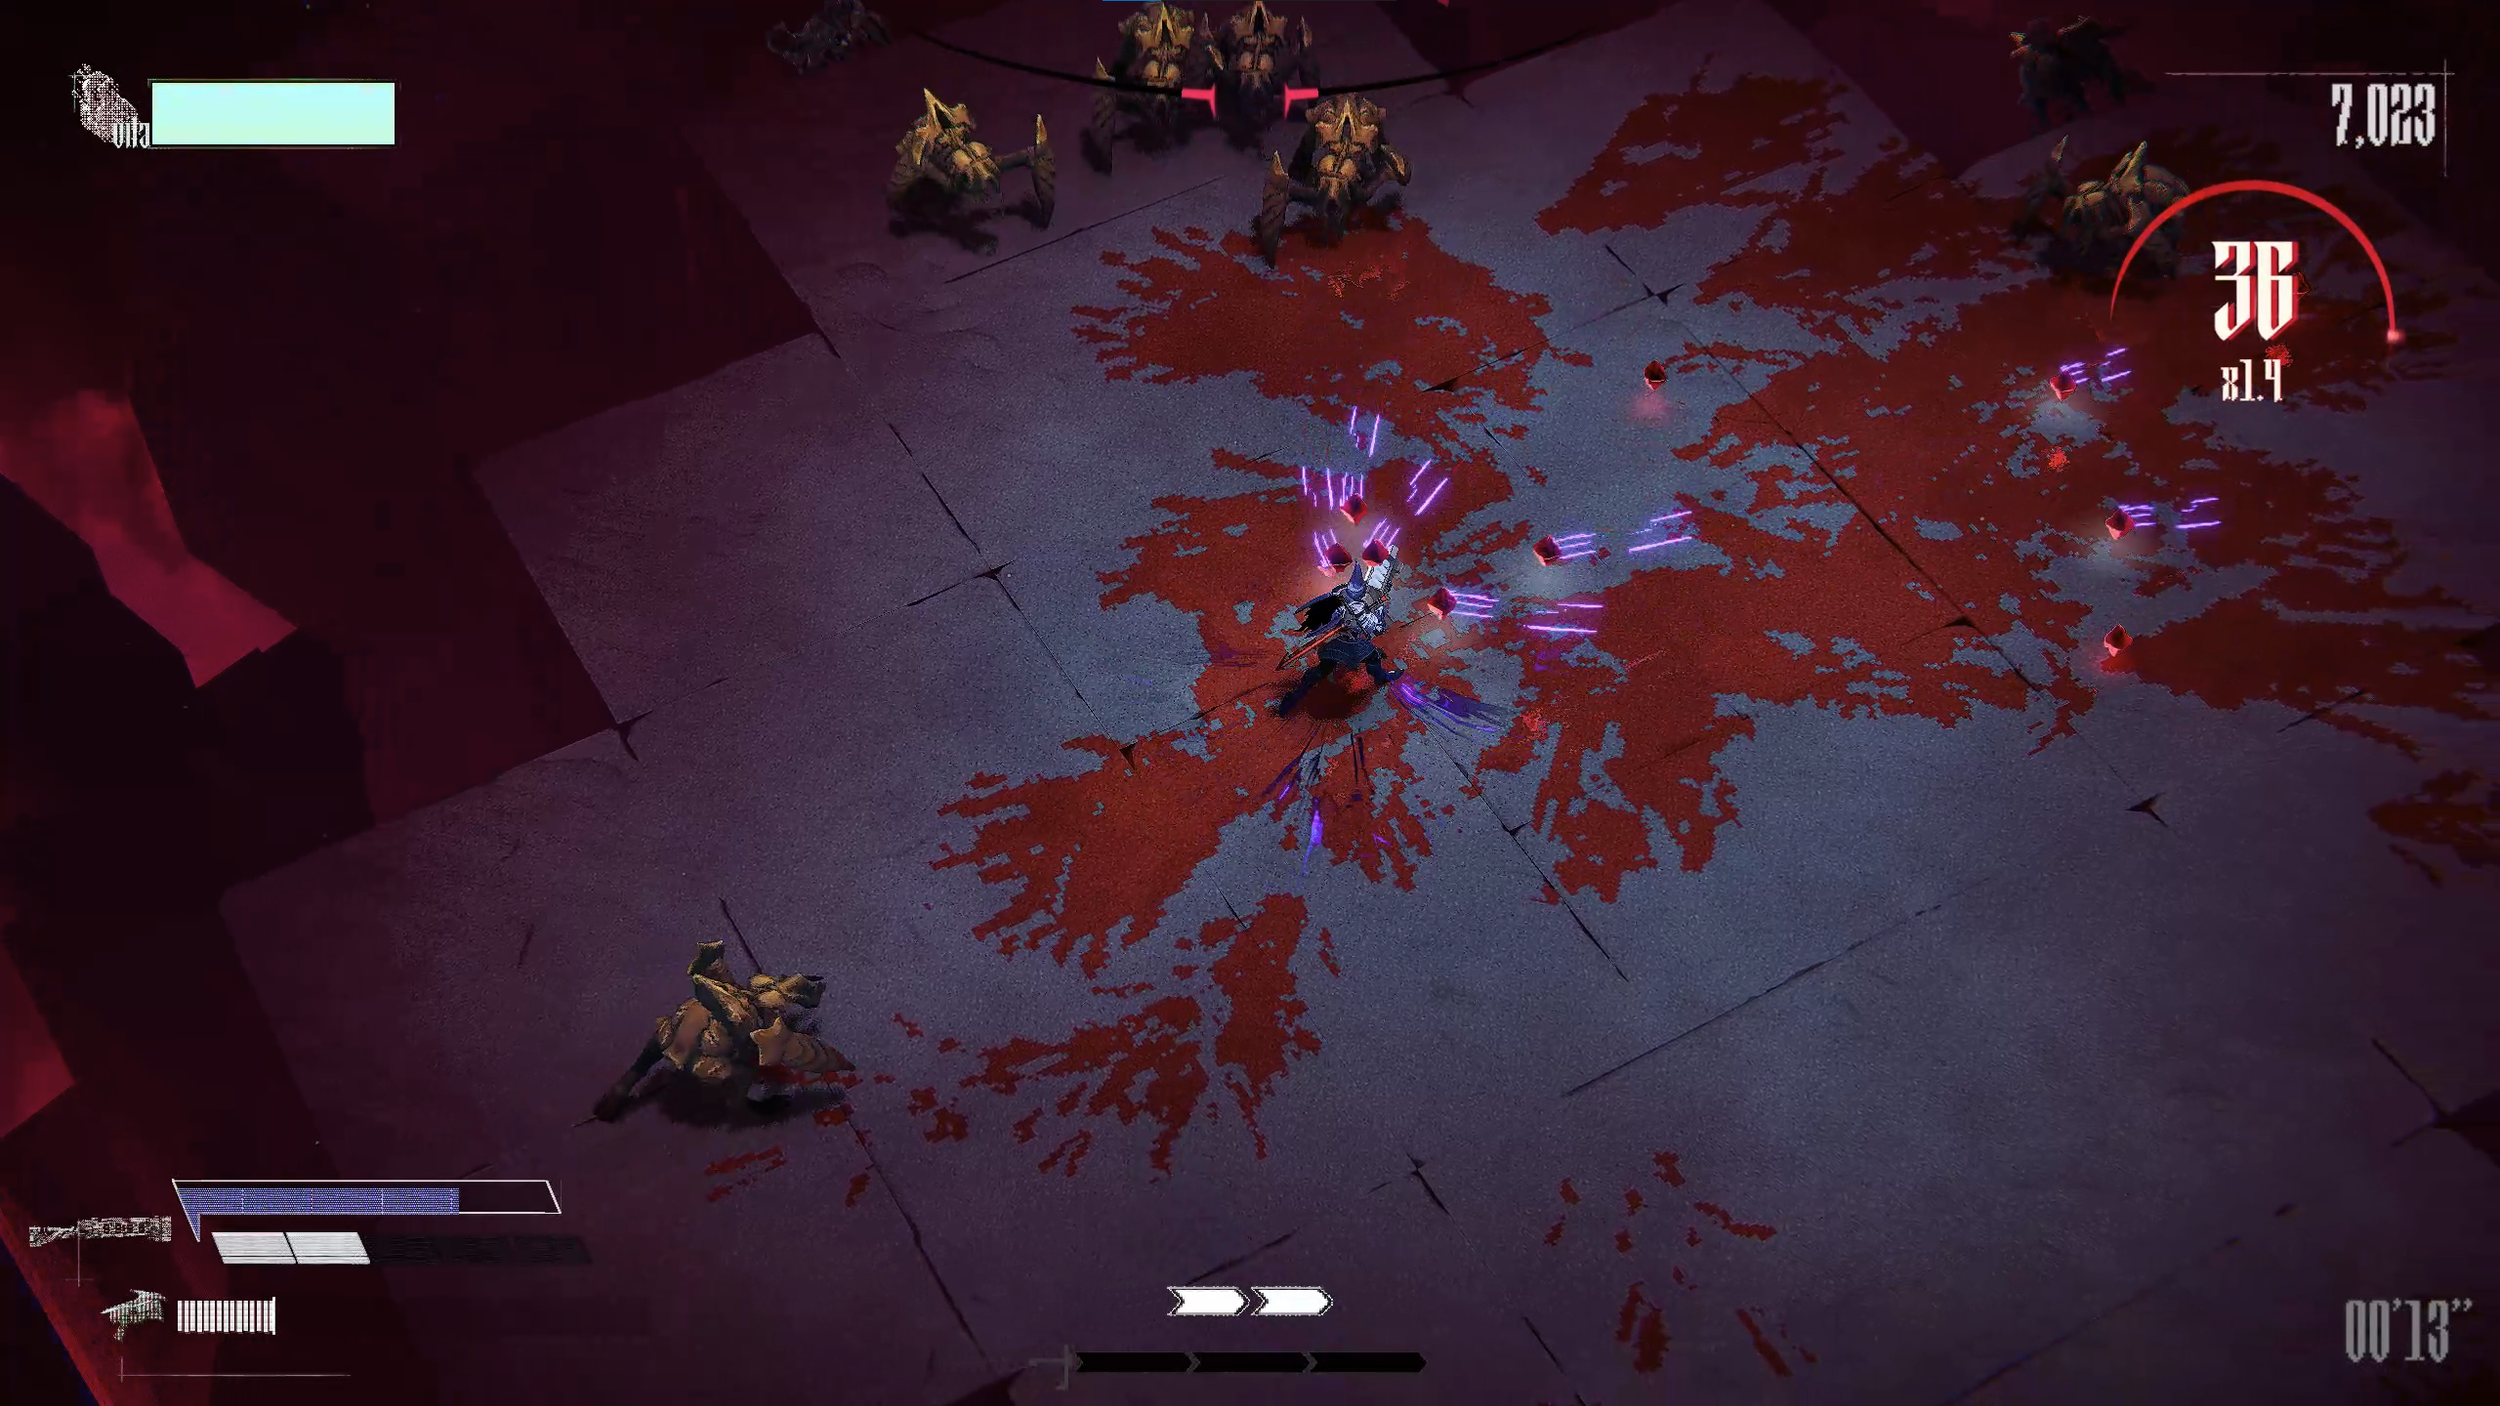
Example of the Player’s toolkit in action
The player had three main weapons: the Dual Pistols, the Heavy Weapon & the Sword, and all these together would synchronize in combat with their own loops.
The Dual Pistols were your default damage dealers and when their ammo clip ran empty, you would be challenged with an Active Reload mechanic that allowed you to restore ammo quicker but also buff your pistols for a short duration if you were successful (similar to Gears of War).
Your Heavy Weapon was your big damage dealer but had very limited ammo and could only be restored by enemy kills with the Sword.
Additionally, the sword functioned as a utility tool that was used for subverting enemy mechanics (E.g. countering unblockable attacks, dubbed “Pulse Attacks”) and activating unique mechanics that would slow down time briefly (Hyper Drive) or help clear large waves of enemies in one go (Sword Surge). All together, this built a combat loop of ranged and melee combat that intertwined together elegantly.
Wrath System
The combat loop was fun and engaging but was still missing that special sauce that would help Kill Knight stand out. That special sauce ended up being the Wrath System. The way it would work was, when enemies were killed, they dropped blood gems and these could either be picked up by moving over them to increase the player’s movement and shoot speed or the player could hold the absorb button to suck them into their Heavy Weapon.
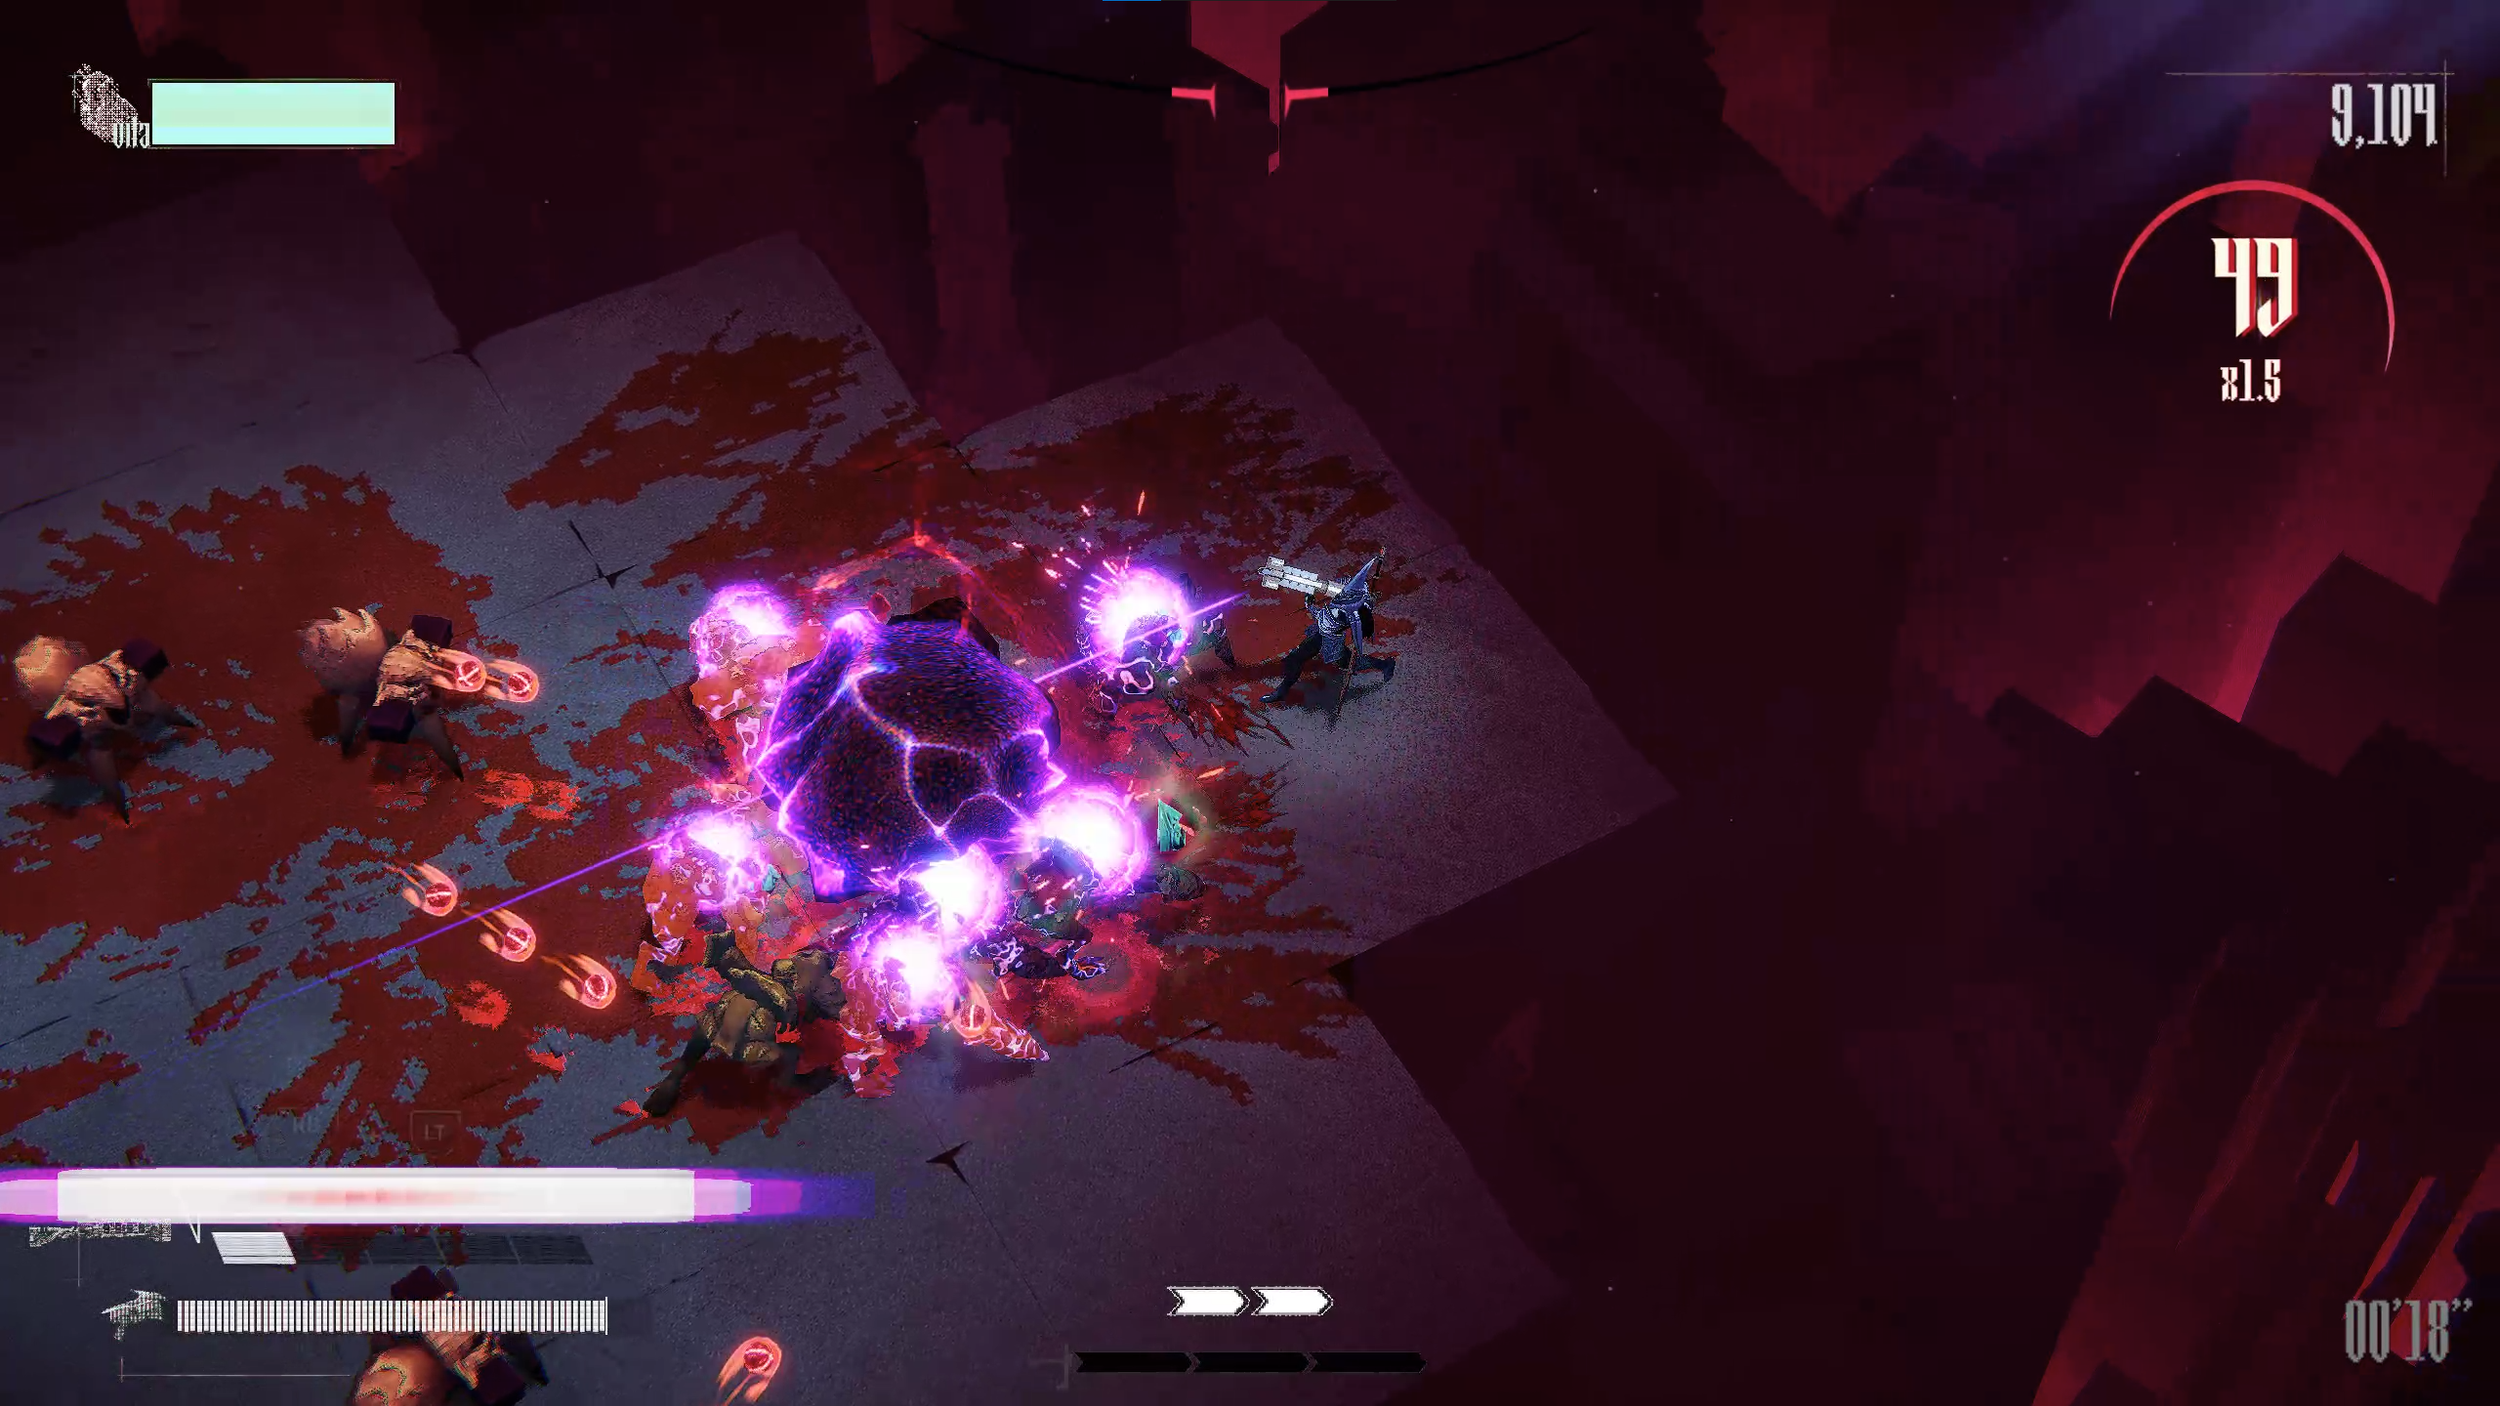
Absorbing (known as Wrath Absorbing) blood gems into the Heavy Weapon would fill its Wrath Bar and once full, a Wrath Burst could be performed. This was a devastating attack that dealt significant damage and caused enemies hit and killed by it to drop Health Shards. If enemies survived the attack, they would be placed into an Inflictum state that slowed their movement and attack speed temporarily. This became the player’s main method of regaining health and dealing with tough & large swarms of enemies.
Player absorbs Blood Gems around them to fill Wrath
Player fires Wrath Burst once Wrath is fully filled
Active Reload
Another endeavor we set out to do was to innovate further on the Active Reload mechanic. Most games that use this mechanic only tie it to restoring ammo quicker and sometimes giving a temporary buff or perk to the gun. For Kill Knight, Active Reloads had three main uses outside of fully restoring pistol ammo on success:
Pistol Active Trigger - Activated by pressing the Pistol shoot button
This enhanced the pistols in some form either through a buff or a one-time powerful attack
Sword Trigger - Activated by pressing the Sword button
Always resulted in an area-of-effect attack that was great for clearing immediate nearby enemies and restoring Heavy Ammo quickly
Absorb Trigger - Activated by pressing the Absorb button
Would immediately Wrath Absorb all blood gems in the arena at lightning speed into the Heavy Weapon
This created a sense of autonomy and freedom for the player to utilize whichever Active Reload they felt would benefit them most in the moment. It ended up being a very successful feature of the game and hopefully inspires future games of the genre to push it even further.
KNIGHT’S ARSENAL
After the core combat was established, the next big task was to come up with unique and fun alternate equipment that the Player could use. These alternate equipment pieces would open up more ways to engage with the combat and keep the game fresh as Players explored and experimented with different equipment variations.
There were five different types of Equipment:
Dual Pistols - Default damage dealers that resulted in an Active Trigger when the clip was empty
Pieces made: 5
Differences: Changes to primary fire and Pistol Active Trigger
Heavy Weapon - Extremely powerful weapons that dealt with tougher enemies and could fire Wrath Bursts
Pieces made: 5
Differences: Changes to primary fire and Wrath Burst
Sword - Close-quarters utility melee weapon used up-close for quick kills and restoring Heavy Ammo
Pieces made: 5
Differences: Changes to default sword swing mechanics and Sword Trigger
Armour - Knight’s protective covering that’s used for defensive and evasive maneuvers
Pieces made: 5
Differences: Changes to Dash amount and bespoke novel mechanics
Augment - Special trinket that provides small boons for the Knight
Pieces made: 10
Differences: Stat boosts or slight mechanical changes
Equipment screen showcasing all the available gear
The player would have access to the starting equipment at the start with the rest being locked away and if the player wanted to unlock the rest of the gear, they had to either complete specific goals within runs or spend Tokkens (in-game currency) to bypass the goal and purchase it on the spot. Tokkens were earned by completing runs and would convert from your end score of the run. So if you earned a higher score, then you would gain more Tokkens to spend.
Later equipment would get more complex in nature and the goals for unlocking them got progressively more difficult as well. However, the goal was not to make later weapons better but just more unique and require a different level of skill to utilize. They provided more at the cost of a higher skill ceiling which went back to our core pillar of being a skill-based game first.
ABYSSAL LAYERS
Kill Knight takes place within a world called the Abyssal Keep and it is composed of five separate Abyssal Layers. These Layers are known in order as: Solitude, Entanglement, Viscera, Echelon & Reflection and the Knight journeys through them to reach the Last Angel. Each Layer’s level design is setup in an arena fashion and is comprised of multiple phases. As the Knight kills all the demons in one phase of the layer, it then shifts & morphs to the next phase with a completely new layout, sometimes bringing in traps & hazards. The goal of this level design was to make the world that you are fighting on feel relentless, like it doesn’t stop trying to kill you. As you wipe out one horde of demons, the land shifts and brings in even more of them to kill you. It was a really fun level design challenge to do because there were so many different levers to play with.
Phase Shifting
Designing out the phase shifts within the Layers was a difficult challenge due to multiple reasons. Firstly, each phase needed to feel distinct and give a sense of wonder & delight to players when they first play on them. We wanted to avoid the feeling of just playing through repetitive levels full of enemies that felt the same. The other challenge was to make sure that the transition between phases felt seamless. This meant minimizing shunting and any jank during the shift so that it felt like the player was just flowing throughout the layer. Having distinct phases that seamlessly moved between each other was hard but we found a good method and it shows in the gameplay.
Traps & Hazards
Traps & Hazards were a major component of the Abyssal Layers as they provided a threat to the player but could also be used advantageously. The idea was that one new trap would be introduced in a each layer and then the layers afterwards would escalate upon that trap, making it more deadly and complex. This in turn, made the later layers really intense since there were multiple traps working together in tandem to create dynamic phases. If used correctly, one could even lure enemies into the traps for some quick kills.
Enemy Spawns
The last piece to ensure that the levels felt fun was to have a steady stream of enemies constantly coming in but there were a few important key notes. Enemies needed to be introduced and escalated upon through the Layers in order to keep them interesting. There also always needed to be filler enemies that came in with the bigger ones because players needed to be constantly killing in order to maintain their kill streak.
They also needed to spawn in unique patterns and formations to get the player moving but also to help the player utilize their toolkit to their highest potential. For example, you would have some formations that consisted of basic enemies encircling a carapace enemy. Since carapace enemies can be detonated by a Wrath Burst causing a damaging AOE explosion, it was therefore a perfect enemy spawn formation to give players that dopamine kick to just immediately destroy an entire wave. Moments like these were very important and added to that addictive nature of the game.


